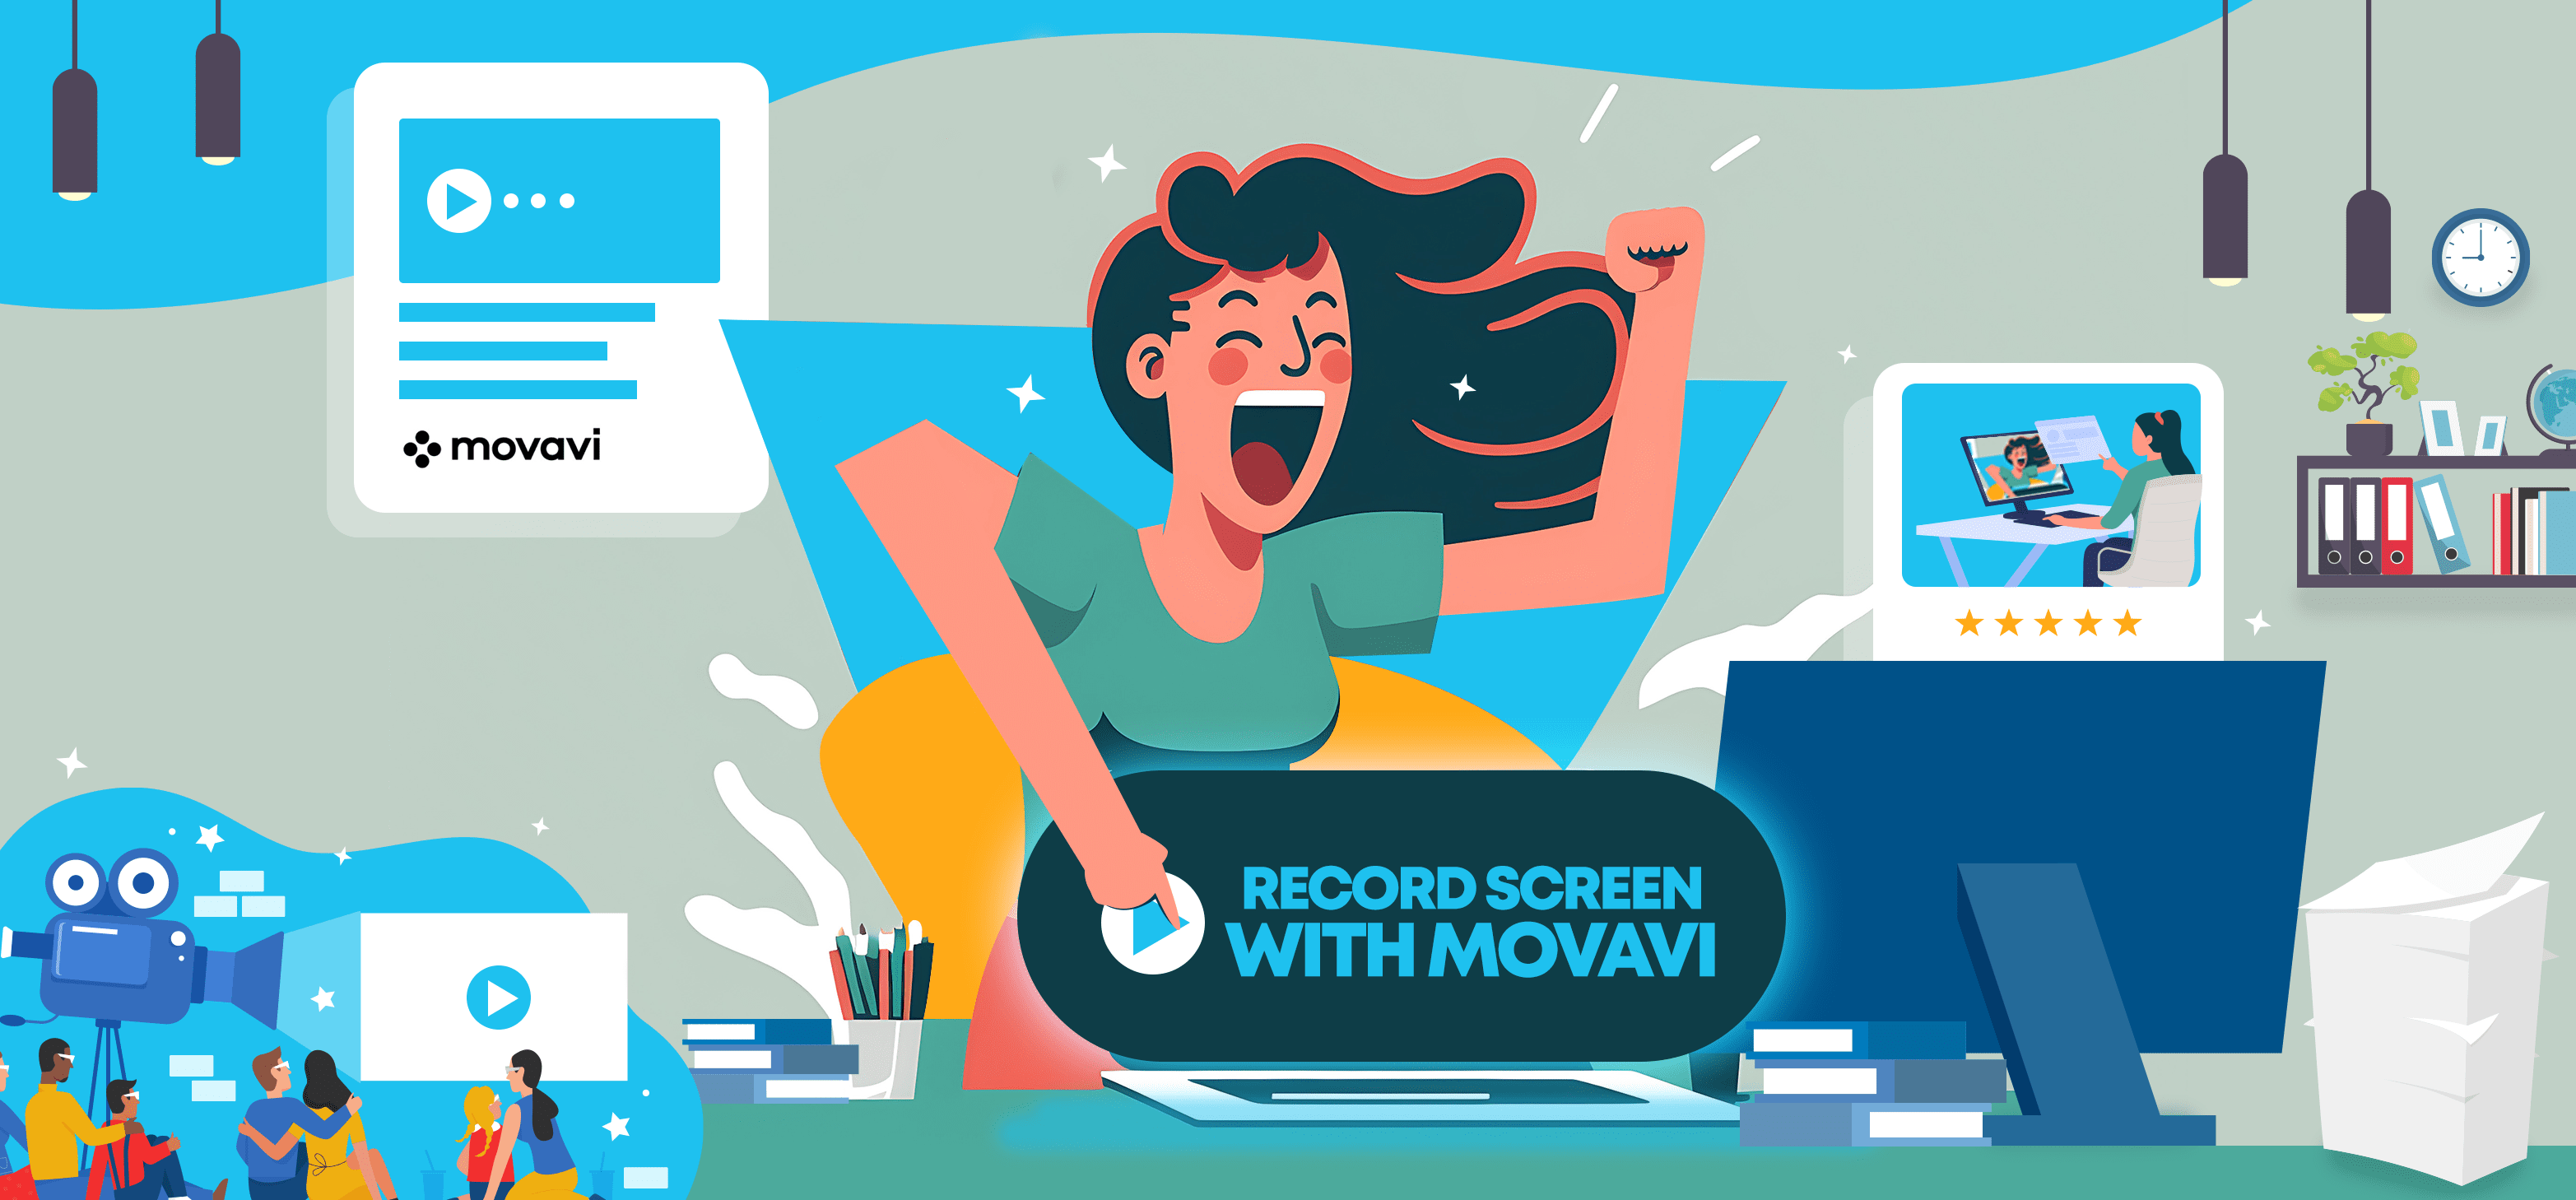
Movavi is a multimedia company that sells video, audio, and image editing programs globally. It was launched in 2004, and since then it has attracted over seven million users from all over the world.
One of its standalone products is Screencast software, which records your screen and captures screenshots. You can use it to create product demos for clients, produce training videos for teams, save official conversations, design vlogs, and much more.
It’s incredibly useful for both personal and business work.
In this article, we are going to talk about Movavi Screen Recorder and review its core functions. Here, I’ve covered its basic features, pricing, pros and cons, and the demo.
Let’s explore the screen recorder to see how it works.
What is Movavi Screen Recorder?

Movavi Screen Recorder is a desktop program that delivers screencast and screenshot tools. Via this app, you can capture any website content, desktop activity, webcam calls, and audio.
You can customize your screen size, edit the videos, annotate images, and export recordings in multiple formats. With pre-built tool tips and its rich knowledge base, you can easily navigate the application and record videos fast.
The software works well on both Windows and Mac versions and produces files in 4k resolution.
Movavi Screen Recorder Core Features
Here are some top features of the Screen Recorder. All the GIFs you see below are taken from Movavi. (Ignore the watermark, please. The trial version comes with visible watermarks.)
1. ScreenCast

Movavi’s screencast tool records your screen activity with or without audio. Using this feature, you can create high-definition videos fast and make quick edits to the clips.
There’s no limit on the time duration or the file number. You can technically make unlimited screencasts and record multiple screens at once.
You can increase your frame rate to 240 and export high-resolution files in MP4, GIF, MOV, AVI, WEBM, and MKV formats. (Though, I wouldn’t recommend changing the FPS if you aren’t much familiar with the settings. Raising the number above 24 may cause audio-sync problems.)
Aside from file downloading, you can generate sharing links and post videos on WhatsApp and YouTube.
2. Image Capture

With Movavi’s Image capture feature, you can take screenshots of anything in PNG and JPEG formats.
It works similarly to any standard screenshot app, but with a few additional functions. For instance, you can take photos while the video is being recorded. This option is available in the screencast editor, identified by a camera icon.
Another interesting thing you can do is capture images of a full landing page without manually extending your frame. You’ll find this option in the main panel of your frame by the name of “Scrolling Screenshot”.
3. Audio Recording

Movavi’s Audio tool records sound from a microphone or your system’s internal audio and download it in an MP3 file. With this feature, you can save Skype conversations, capture online songs, make podcasts, and do audio lectures.
It has noise cancellation and quality adjustment settings which can reduce distortion and improve the audio quality. With the audio editor, you can trim unnecessary clips and fine-tune your content.
While the audio recorder is pretty basic, it delivers good results if used in an ideal environment.
4. Webcam Recording

The Webcam tool allows you to capture your screen and webcam together, or record videos directly from your camera.
It’s an ideal feature specifically for vlogging or online webinars. You can activate the webcam on your screencast and record presentation slides with a small webcam window at the bottom.
With its built-in settings, you can adjust the camera angle, change exposure and edit hues, and increase the file quality.
One thing you should know is the webcam might not work initially if you’ve privacy settings on.
Windows, by default, blocks third-party access for privacy reasons. You might have to change your system settings to use this feature.
5. On-screen Drawing

Movavi’s drawing widget delivers pens and colored shapes to draw on videos and screenshots.
It’s a basic annotation tool that comes with some built-in shapes for quick outlines and a freehand pen to highlight an area of text.
You can increase and decrease your pen size, apply lines and arrows, and add text in multiple fonts. It offers eight different colors for highlighting and text customizations.
Some of its features might be limited to screenshots only, but you’ll be able to use the basic functions on both videos and images.
6. Scheduling

Movavi gives you the flexibility to schedule your screen recordings.
With this feature, you can set a specific date and time for your recordings in advance and place a trigger action (Like shutting down the computer) to automate the process.
This is an ideal tool for those who usually save lectures or presentations to view later. The app automatically starts the recording and stops it after it reaches your specified time.
7. Keystrokes and Mouse Visualizer

Keystrokes and Mouse visualizer is a special effect that highlights your cursor, clicks, and typing to help viewers track your movements.
This tool comes in handy when recording a tutorial or guide. For instance, if you’re a designer and want to share shortcuts with learners, instead of verbally explaining every shortcut, you can show your keystrokes to viewers.
Through the screencast main panel, you can manually activate any of the three options. You will have the option to change your cursor shade, assign separate colors to your right and left clicks, and enable the mouse sound.
How Does Movavi Screen Recorder Work? (Product Demo)
Movavi Screen Recorder is easy to operate.
All you have to do is select an area you want to capture and click on the red button. The app will continue recording your screen activity in the background until you hit the stop.
Movavi offers a 7-day free trial to its customers to test the software. You get access to all the above core functions for a limited time without providing credit card details.
Below, I have shared the Screencast tool application as a demo using the trial version. Check out the step-by-step guide to learn how to make a screencast with Movavi Screen Recorder.
Let’s start with basic installation.
1. To download the software, visit the Movavi Screen Recorder website. You’ll find the downloading option in the top panel and on the Screen Recorder’s landing page.

2. Select the free download option. Movavi will ask you to run the file.
3. After clicking run, another window will appear, requesting EULA consent.

EULA—end-user license agreement— is a contract that essentially outlines the software terms and conditions. If you want to know more about it for privacy protection, here’s the Movavi EULA agreement.
4. As you put a check mark on the consent box, the installation process will immediately start. The installation may take a few moments, depending on your system speed.
5. Once the program is installed, a side panel will pop up on your desktop. Through this widget, you can use video, webcam, image, and audio features.

The panel will remain visible whether you are working offline or browsing websites. The idea, I believe, is to keep the recording option ready in case you need it urgently.
While the logic makes sense, the widget can be a bit distracting sometimes. The good news is you can easily remove it by clicking on the cross button above the camera icon. If you need it again, you can simply activate it from your screen’s hidden menu.
One other thing you’ll notice is that the widget doesn’t display all the main functions. Technically, all the features are there, but only three tools show, probably because of the design limitation. You can access the last feature from the small arrow at the bottom of the audio icon.
Now that we’ve covered the basics. Let’s try its screencast tool.
7. To record your screen, click the video camera option.

8. A red-tinted frame will appear with a resolution scale. This is called an area selector. You can drag it over your desired area and customize your screen size.
The scale is an extremely useful tool because it allows you to measure the exact width and height of your screen. You can easily adjust your area size by looking at the scale.

9. As you select the area, the frame will display two small panels. The lower panel features video options while the side panel shows special effects. You can enable/disable them by clicking on the icon.
I chose Movavi’s own video for this demo. Since my purpose is to record YouTube content, I selected audio, video, and cursor effect.

10. After I recorded the desired content, I took out some parts with the scissors and clicked on the export. You can choose your file format and edit your video size in the export column.
This is the result of Movavi Screen Recorder.
There were also others icons featured on the video editor if you remember. Through these icons, you can share your videos with anyone.
Let’s look at Movavi Screen Recorder’s plans.
Movavi Screen Recorder Pricing

Movavi offers different plans for personal and business use. The business plans start from $90, and the personal package range between $45 and $95.
The subscription period is typically one year, but if you’re on a personal plan, you can buy its lifetime license. The forever plan, however, comes with certain limitations.
Based on its descriptions, the package doesn’t include upgrades. Whatever version you download at the time of purchase will be available to you, until you decide to buy the latest version.
If you’re part of an educational institute, you can opt for an academic plan and get a discount on bulk purchases. Movavi shares separate packages for institutes, charging around $15 per student.
Movavi Screen Recorder Pros and Cons

Movavi Screen Recorder is pretty straightforward. Still, knowing a software’s limitations might help you make a better purchase decision.
Covered below are some of Movavi’s Screen Recorder’s advantages and disadvantages.
Pros
- The app is flexible. You can operate it on Mac and Windows, access it offline and offline, and share files via several channels.
- You can record more than one monitor screen simultaneously and save video and audio separately for easy editing.
- Screencasting doesn’t slow down the system. You can record and export files without any lagging problems.
- Movavi supports multiple languages. You can set the editor in around thirteen different languages.
Cons
- There is no free version. The lack of a freemium model and limited benefits may make the product less attractive to users. It does provide a Chrome Extension for free, though. But the recorder typically generates out-of-sync videos. The problem could be with my system, I admit, but its desktop app worked perfectly.
- Customization is limited. Movavi, no doubt, is a screen recorder and not a video editor; however, the available features offer basic editing.
For instance, I can show keystrokes on my video, but I can’t adjust the keystrokes’ size. They appear too large, in my opinion. Similarly, I can change my mouse’s sound effects but can’t adjust the volume.
They’re relatively minor elements and don’t affect the software’s usability. But, if an app has special effects, I would naturally want to try them. And these small drawbacks might make them slightly difficult to use.
Conclusion
On a whole, Movavi Screen Recorder does exactly what it says.
It has an intuitive interface, all the necessary features you would need from a screencast app, and a fair pricing structure.
You can also bundle it with Movavi video editor for advanced functionalities. The editor has pre-built filters and effects to help you add a professional touch to your videos.
I recommend taking the free trial to explore the software. Good luck!